Login or create new account.
By registering on joomprod.com, you will have immediate access to all our free products and to the public side of our support forum.
Enjoy our subscriptions.
Each of our subscriptions allow you to enjoy the private side of the support forum and all the update of our products for a period ranging from 3 months to 1 year.
Payment And immediate download.
After subscribing to one of our subscription, the products are immediately downloadable.
Login
Presales questions Help Center
If you don't find your answer here, don't hesitate to contact us per email : support@juloa.com
AdsManager - End of life
It is with great regrets that we have chosen to end the developpement of Adsmanager and its other associated components.
AdsManager is born 10 years ago and, as of today, the number of new subscriptions and downloads have fallen and we cannot maintain the component anymore.
All active subscribers will be able to continue enjoying support until the end of their subscription.
The components will be free and no support will be provided anymore for the other users.

Tools

Depending on your Joomla! version you will see here Joomfish or FaLang (if your Joomla! version is superior than 1.5) installation files. If you installed FaLang, you'll see this link, otherwise you'll see Joomfish link. Check the multilanguages in AdsManager article.

Field Images
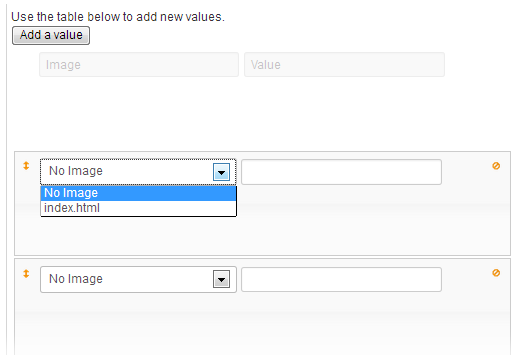
When you create fields, you can choose "Checkbox (Multiple Images)"or "Radio Button (Image)" in the "Type" dropdown.
Once you've uploaded your images, you can find them here (if you selected one of the types mentioned above)

Write an ad
In front-end


You still can see the link to the menu on the right. To write an ad just click the link "Write an ad" which is surrounded by red color whatever your language is. Other links on this page and descriptions are explained in the Beginners Guide.
Depending on your configuration you can see two different things. If you selected the option that states an ad can only be classed in only one category, then you'll have this view.

You can choose the way the categories will be displayed, check the "Categories" tab in Configuration.
Choose a category or a subcategory and then you'll acces the form to create an ad.
If you are in multicategories, you'll see this :
Check Configuration if you dont know how to do it.

To select a category, just click on it in the left area and then click on "Add" button. Do the same thing but click on "Delete" button to unselect it.

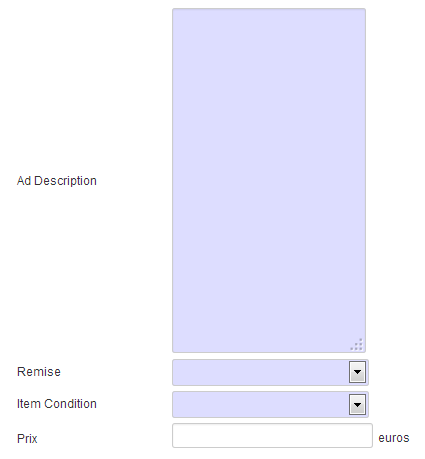
Here you can see the required fields cause they have blue background color.
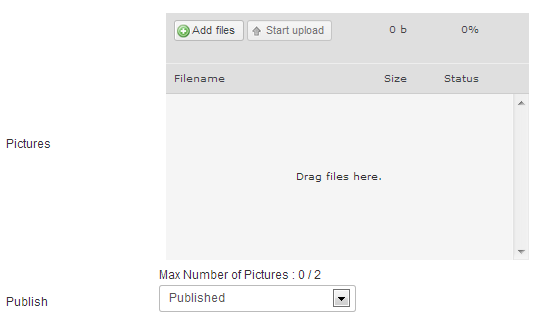
Congratulations, you just created your first ad with AdsManager !
In the back-end
The form is the same as the one in the front-end above. In addition you can sort your ads on the view list by filters.
01Categories filter
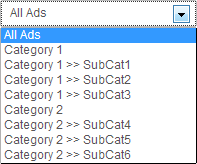
You can select only ads belong to certain category or subcategory or all ads from all categories.
02Published filter

You can select whether you want to display published or unpublished ads.

Here we can see three different filters. First the user filter, you can type name of an user here and it will filter showing you only ads from this user. You're not forced to type the entire name, here, typing "Are" will still get you the result. You can type part of name til it's entirely contained in the effective name.If you know the ID of the ad you're looking for, you can type it here and leave others filters empty. Typing '0' will show all ads.
You can choose how many ads you want to display here by selecting a pagination.
The filters are cumulative. The ads displayed will satisfy every filter modified. Eg. here, you can see there's an ad with id 3, if I type "3" in the ID filter but "Nobody" in the user filter, no ad will be displayed, just erase what you just type in user filter to see the ad with id 3.
Just fill all the fields you need, use Create fields, save.
Congratulations, you just created your first ad with AdsManager !

Beginner's Guide
Thanks for purchasing AdsManager. Below are a few guidelines to help you quickly find what you are looking for to get started with AdsManager.
The first thnk you'll need to do is configure AdsManager, check out Configuration
If you have the Silver or Gold Pack, you should configure PaidSystem (Configuration), VirtualMoney (Configuration) and Invoicing (Configuration) too.
Each tab on the administration section is explained below:
- Configuration
- Creating Fields
- Creating Columns
- Displaying Ads
- Creating category
- Writing Ads
- Plugins
- Field Images
- Tools
Additional topics:
- Presales Questions
- Customization
If the above pages do not help you and if you bought a support pack, you may send your questions to our developper team via the forum on the "AdsManager Support" section. If not, you still can access the public section that may answer your questions. The private part is limited to paying clients so that we may guarantee answers and provide full client satisfaction.

Creating categories
The view list
Several categories and subcategories are defined by default in AdsManager
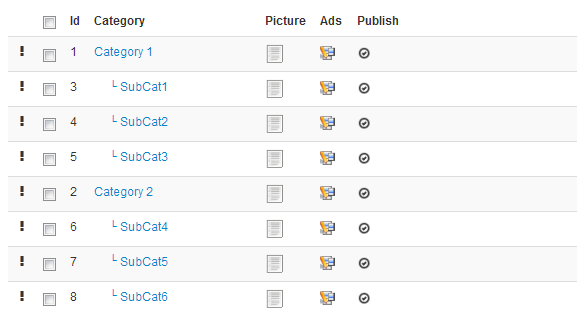
You can see all default categories and sub-categories.
The black exclamation mark only appears if you are in Joomla! 3.x it allows you to rearrange the subcategories within their parent category. You cannot put "SubCat1" in "Category 2" but you can order "SubCat3" before "SubCat1" by dragging the black exclamation mark up or down.
You can see pictures assigned to each category and a button ads.

Clicking on the button ads in the first row redirects to the page list of ads in administration filtered to display the chosen category.
Creating a new category
This view is pretty simple to understand and very similar to create a category in Joomla!

Give the category a title, location, picture (check out limitations here) and a description.

You can assign keywords here whether they are published.
Set a limit number of ads per user
You can set a limit of ads per user for your category, you just have to fill the field with the limited number that you want.

The -1 value is a unlimited number of ads.
Set an access right
You can also limit the access of your categories to a chosen user groups.
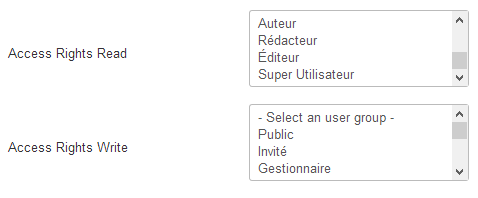
Two options are available, 'Read' will limit the read access of the category to the users in the authorized groups, 'Write' will limit the write access of the category to the users in the authorized groups.
Congratulations, you have just created a new category!
